

Bulletin E329
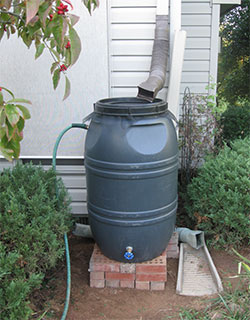
A rain barrel is placed under a gutter's downspout next to a house, small sheds or other outdoor structures to collect rain water from the roof. The water can then be used in various ways including to water a garden. A rain barrel provides two important environmental functions:
- harvesting rain water provides an alternative to utilizing the drinking water supply for gardening and other uses, and
- the overflow from a rain barrel can be directed to a pervious area (an area where rain water can infiltrate into the ground) such as a lawn or garden and help replenish ground water supplies. By collecting rain water, homeowners help to reduce flooding and pollution in local streams, rivers, and lakes. When rain water runs off of hard surfaces (also called stormwater) like rooftops, roadways, parking lots, and compacted lawns it carries with it pollution to the storm drain system and is then discharged directly to our rivers and lakes. Often in older cities, the storm drain system is combined with the sanitary system. During large rain events the storm water and raw sewage is discharged directly to local waterways. Harvesting rain water in a rain barrel reduces the potential for stormwater to deliver pollution to our local waterways.
| Tools Needed | Supplies Needed |
|---|---|
| Protective eyewear | 55 gallon plastic food-grade barrel |
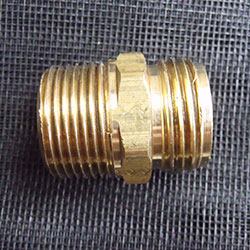
| Work gloves for drilling | 3/4-inch brass faucet |
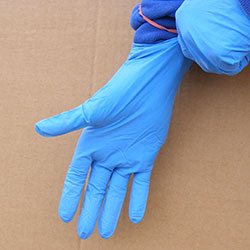
| Latex-free gloves for using silicone sealant (caulk) | 3/4-inch garden hose adapter (male pipe thread to hose thread adapter) |
| Power drill with hole saw (1" diameter) | Two 3/4-inch diameter electrical conduit locknuts, with or without PVC seal |
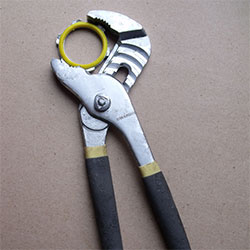
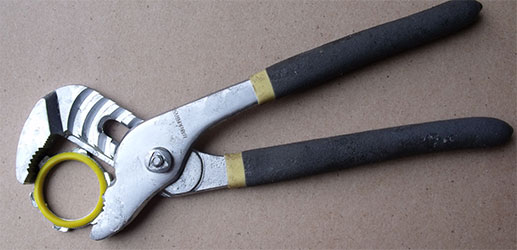
| 8-inch groove joint pliers (channel lock type) | Teflon thread seal tape (plumber's tape) |
| 8 or 10-inch adjustable wrench | Silicone sealant (caulk) |
| Jigsaw (saber saw) | Gray window screen |
| Ruler | Pond basket or colander (optional) |
| Scissor |
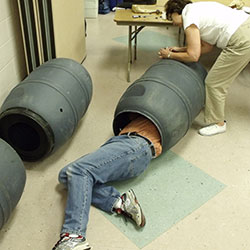
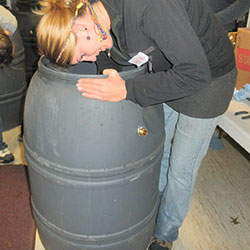
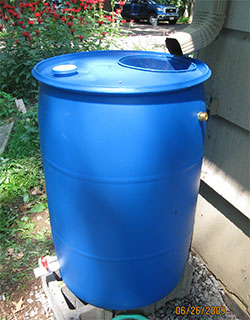
Two types of plastic food grade 55 gallon barrels are typically used to make rain barrels; screw top (the whole top unscrews) and closed top (with two 2-inch "bung holes"). The screw top enables you to reach deep inside the barrel to work on the inside of the faucet. With the closed top barrel, you will only be able to install the faucet as far down as you can reach inside the barrel from the hole you will cut in the top.
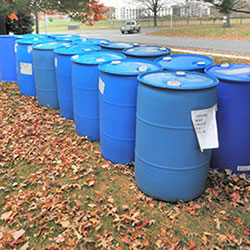

Closed top (left) and screw top (right) plastic food grade 55 gallon barrels.
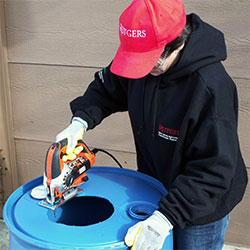
Always wear safety glasses and work gloves when cutting or drilling.

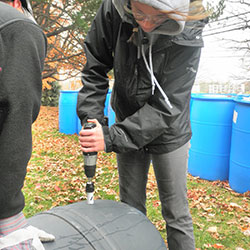
Inlet: Use a jig saw to cut an 8-inch diameter hole in top of barrel. Or, if using a pond basket, colander, or other device for the inlet, cut the opening to fit the device without gaps to avoid allowing in mosquitoes.
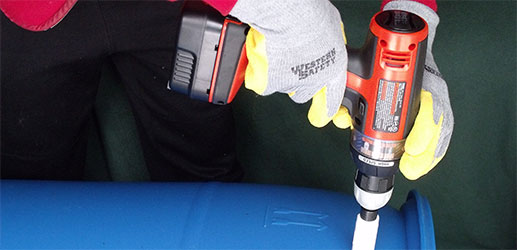
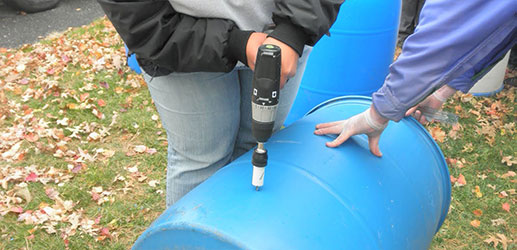
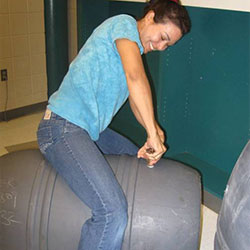
Faucet: For a screw top barrel, use the drill and one inch hole saw to drill a hole about six inches up from the bottom. If using a closed top barrel, the length of your reach inside the barrel to where you can screw on the lock nut will determine how far down the hole should be drilled. Avoid drilling on a seam which will cause the barrel to crack and leak.
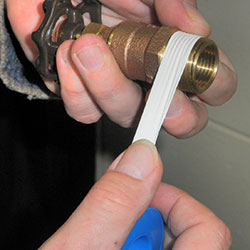
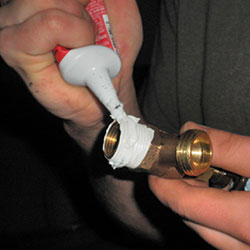
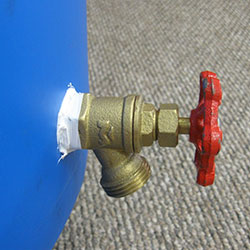
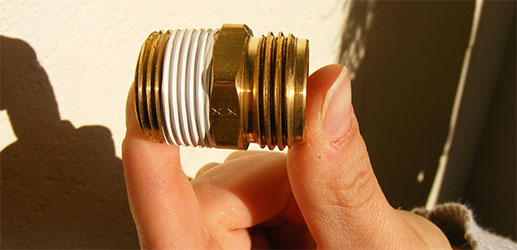
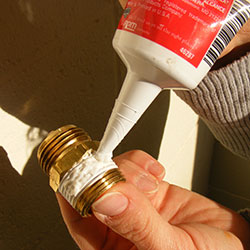
Wrap two thirds of the faucet threads with two layers of the thread seal tape. Leave the bottom third of the threads uncovered so it will be easier to start threading into the barrel. Apply a layer of sealant over top of the tape and threads. Use latex-free gloves when using silicone sealant (caulk).
Line-up the threaded portion of the faucet with the hole in the barrel, and applying pressure, screw in the faucet. The sealant will pile up behind the faucet as you screw it in, filling in any small cracks.
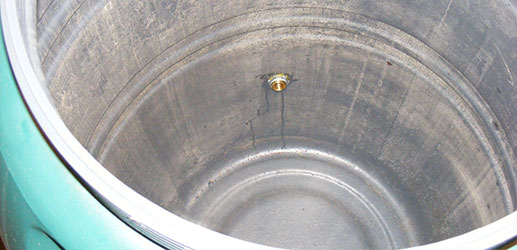
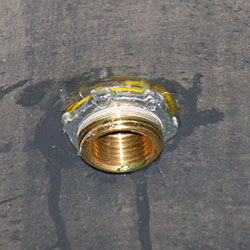
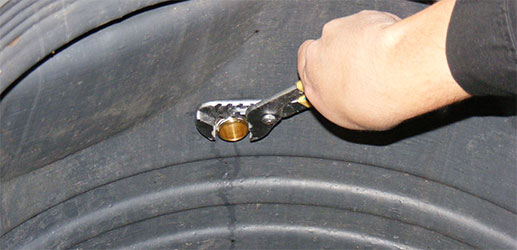
Thread the locknut to the inside threads of the faucet by reaching inside the barrel.

First cover half the threads and around the barrel wall with sealant, then screw the locknut on and tighten down using the groove joint pliers.

Smooth the excess sealant around the base of the faucet.
Overflow: Decide which side you want to locate your overflow; right side, left side, or facing front. Avoid having the overflow face toward your house. Using the one inch hole saw, drill a one inch hole about four inches from the barrel top.
Wrap thread tape around two thirds of the pipe thread side of the garden hose adaptor. The pipe threads are finer then the hose threads. Leave the bottom third of the threads uncovered, similar to the way the faucet was done.
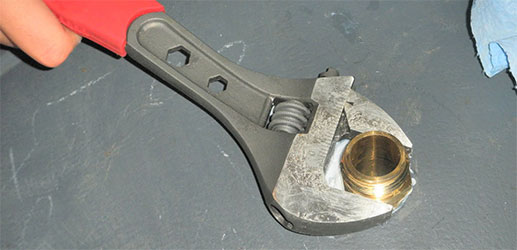
Cover the threads and tape with a layer of sealant. The overflow fitting threads are slightly larger in diameter than the faucet threads, so once you start threading into the barrel by hand, you will quickly need to use an adjustable wrench to tighten the fitting.
Thread the locknut to the inside threads of the overflow.
First cover half the threads and around the barrel wall with sealant, then screw the locknut on and tighten down using the groove joint pliers.
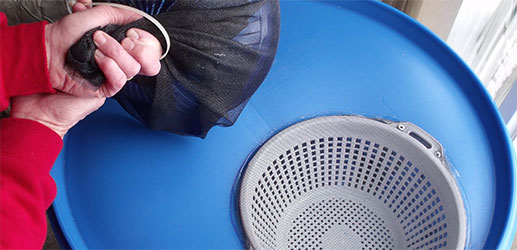
Install screen: If using a screw top barrel, simply unscrew the lid, have a helper hold a 2 ft x 2 ft piece of fiberglass window screen over top of the barrel and pull taught. Then screw the lid down on top of the screen. Trim excess screen as desired.
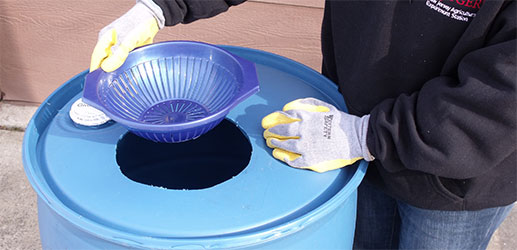
If using a basket to insert into the top of the closed top barrel, simply cover the entire basket with a sheet of fiberglass window screen large enough to allow it to be tied at bottom, and seat the basket in the inlet opening.
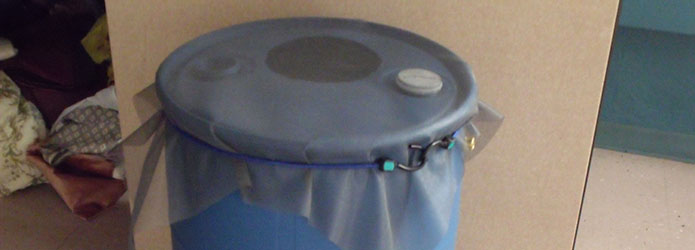
It is also possible to simply cover over the entire top of the closed-top rain barrel with either fiberglass or aluminum window screen that is 36 x 36 inches. Use a 48-inch bungee cord to secure the screen. Trim excess screen as desired.
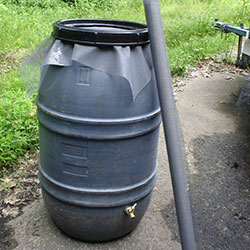
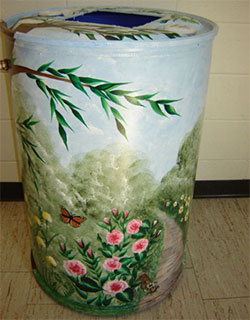
Congratulations! The rain barrel is done. See FS1118 Rain Barrels Part II: Installation and Use, for installation, use, and maintenance information.
Painted barrel courtesy of Joan M. Horn.
For More Information:
- Clean Virginia Waterways. (2009) Rain Barrels for Harvesting Rain Water Program,
www.longwood.edu/CLEANVA/rainbarrels.htm - Southwest Florida Water Management District. (2008) Rain Barrels – A Homeowner's Guide,
www.swfwmd.state.fl.us/publications/files/rain_barrels_guide.pdf (PDF) - City of Portland Environmental services. How to Manage Stormwater – Rain Barrels,
www.portlandonline.com/shared/cfm/image.cfm?id=182095 - Rutgers Cooperative Extension Water Resources Program, www.water.rutgers.edu
March 2010
Copyright © 2024 Rutgers, The State University of New Jersey. All rights reserved.
For more information: njaes.rutgers.edu.
Cooperating Agencies: Rutgers, The State University of New Jersey, U.S. Department of Agriculture, and Boards of County Commissioners. Rutgers Cooperative Extension, a unit of the Rutgers New Jersey Agricultural Experiment Station, is an equal opportunity program provider and employer.